These pretty decorations are a great gift for bird-lovers. The clay is really easy to work with and as it’s air-drying, there is no need to bake or fire, making this a great craft for children too.
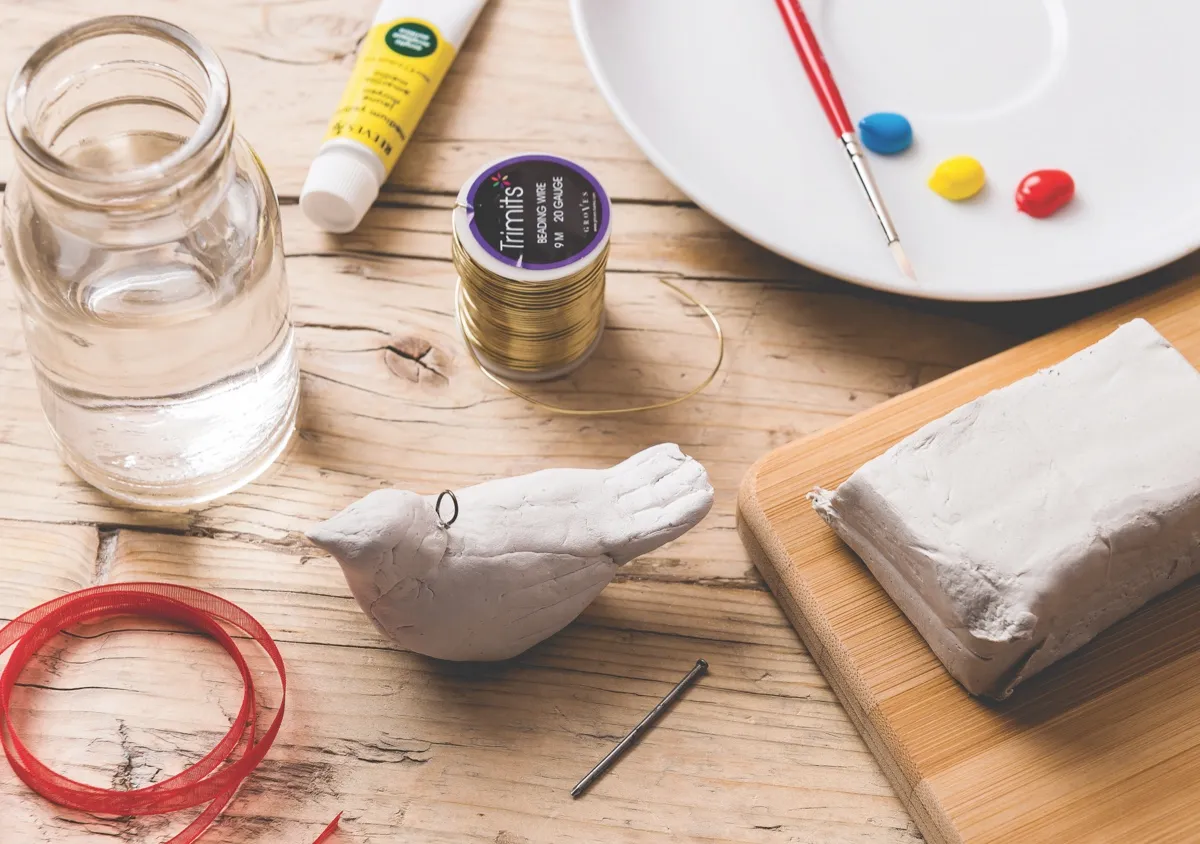
Materials
Air-dry clay
Acrylic paints in various colours
Thin modelling wire
Ribbon
Matt clear varnish
Glass of water
Tools
Craft knife or sharp kitchen knife
Poking tool (we used a nail)
Wooden board/chopping board
Scissors
Paintbrushes
Method
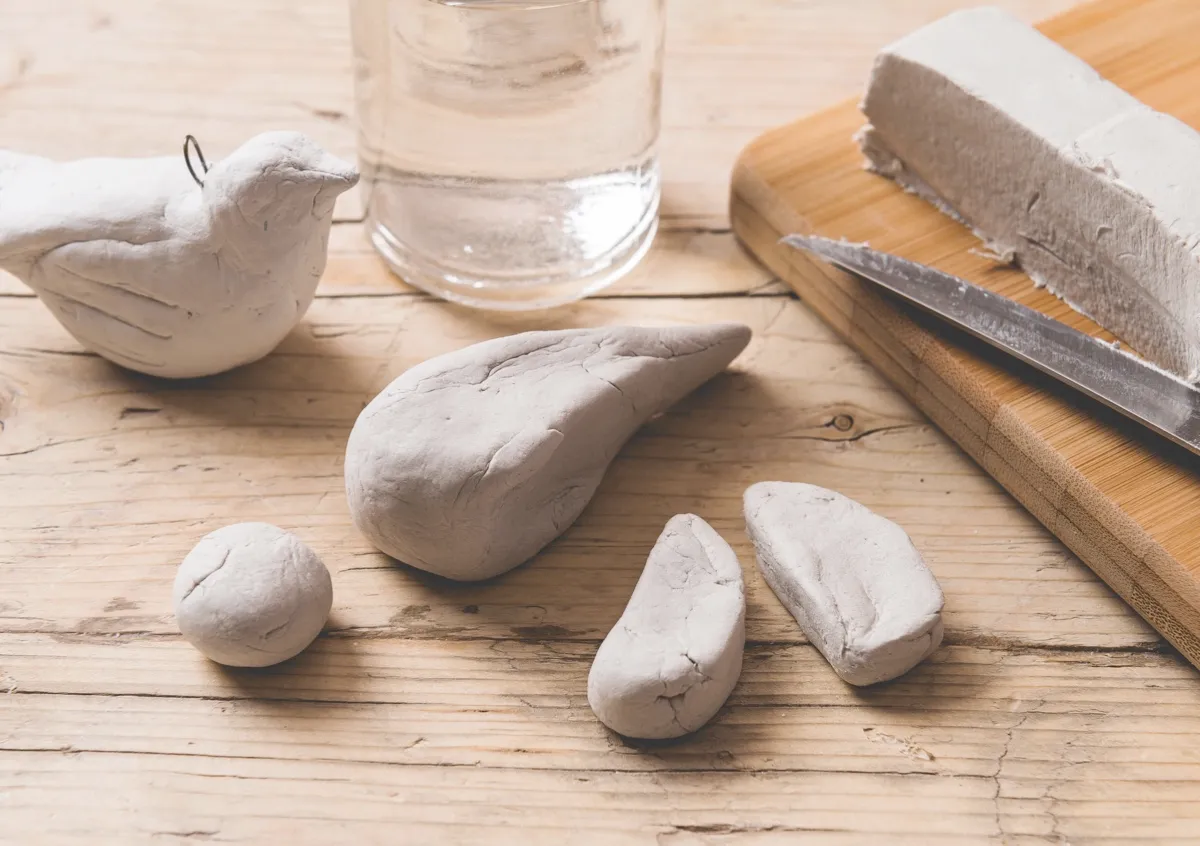
1. Cut atwo slices of air dry clay, one 1.5cm thick slice and 1cm thick.
2. Cut the 1.5cm half in two and roll one half into a ball all to make a body shape, pulling one side into a tail shape. With the other half, form another ball to create a head. Pinch a beak shape from the head and mould this onto the body and tail shape you have created.
3. Take the 1cm slice from step 1 and cut in half. Ball up each piece and shape into a wing then mould onto each side of the bird to create a fatter, rounder bird shape. Dip your fingers into some cold water if you feel the clay is drying out. This helps to better mould the clay and smooth the joins.
4. Use a knife to score three lines into the wings and tail to create ‘feathers’.
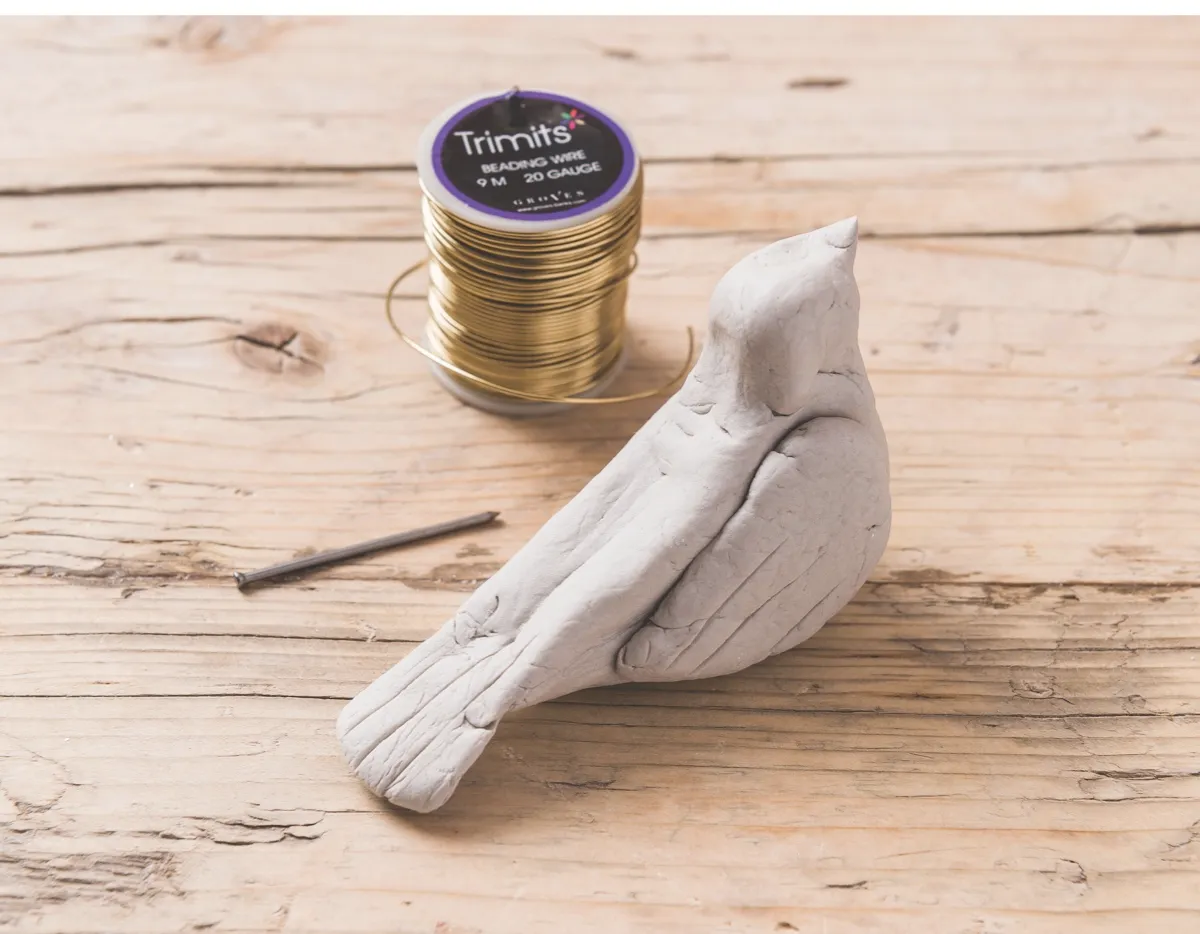
5. Create a small loop out of modelling wire and twist the ends. Poke them into the back/neck of the bird - this will be where you hang it from.
6. Leave to air dry. This takes around two full days depending on the size and thickness of the bird.
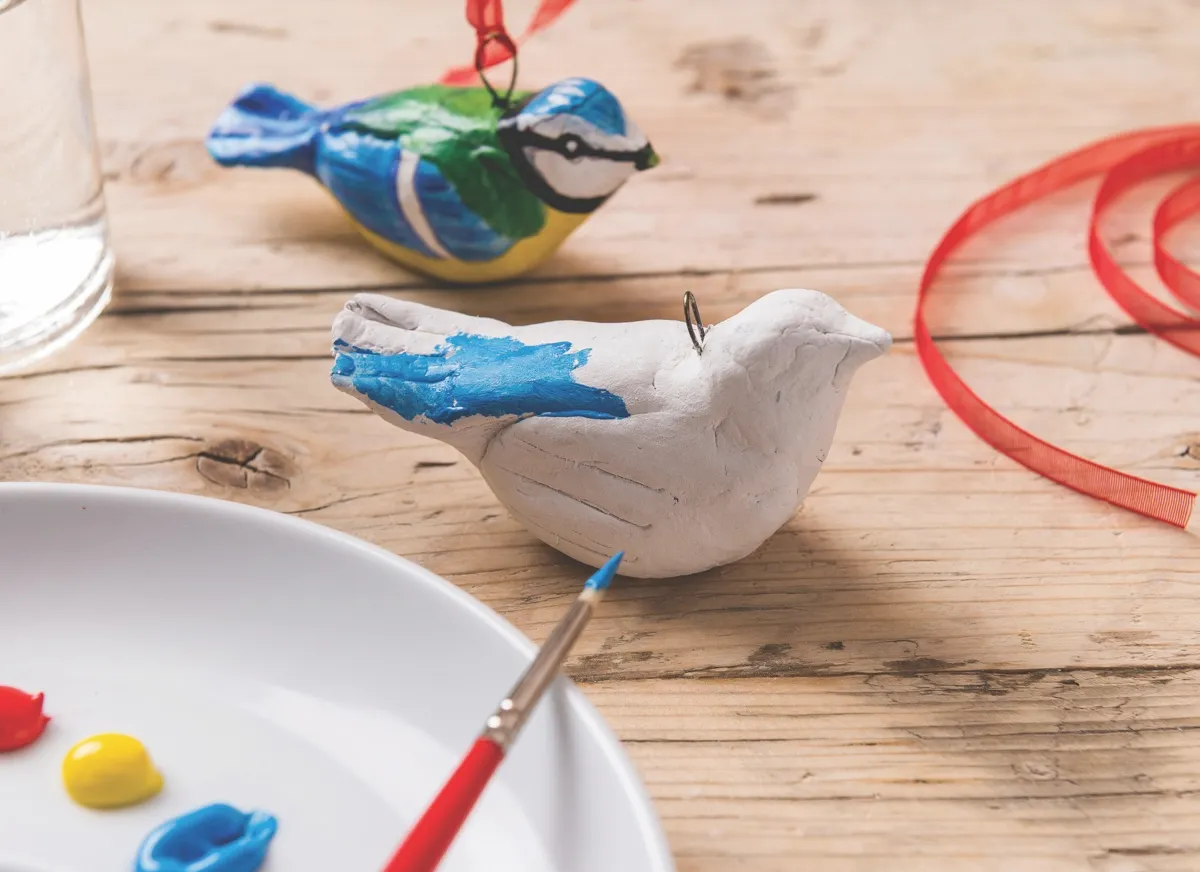
7. Return to the dried birds and paint as desired. We have chosen to paint a robin and a blue tit, but you can create any pattern and colour you like. Add glitter to make it sparkle and seal with vanish.
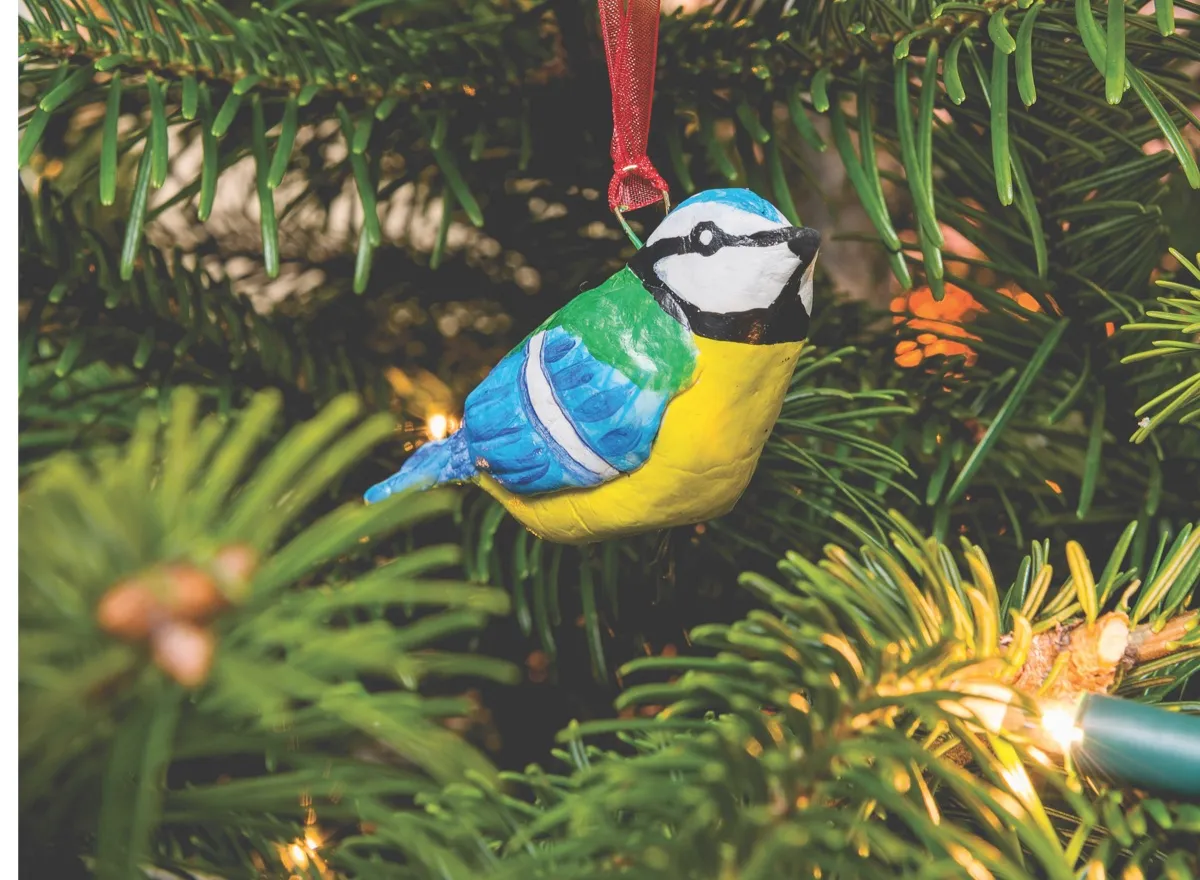
8. When the varnish is dry, loop with pretty ribbon and hang on the tree.
Storing your bird decorations
These are fragile ornaments, particularly the beaks and tails, so when you put the away on Twelfth Night, wrap them carefully in bubble wrap to protect them.
Words and styling: Verity Gough
Pictures: Steve Sayers
