Top tips to taking better landscape photographs
Who can resist visiting and photographing big open spaces and far-reaching vistas? Being outdoors and exploring the landscape and coast is not only great for physical and mental wellbeing, but it gives us the opportunity to be creative, too. Whether you are using a digital SLR, point and shoot camera, or your smartphone, great landscape photos are within your grasp. With a little knowhow and planning – and by following our tips and hints – you will soon capture standout landscapes. But be prepared to invest time into your photography – the longer you spend behind your camera, the sooner your camera handling and compositional skills will develop.
Want to take spectacular shots of the countryside? Then check out 10 essential tips from pro landscape photographer Ross Hoddinott
1) Best camera for landscape photography
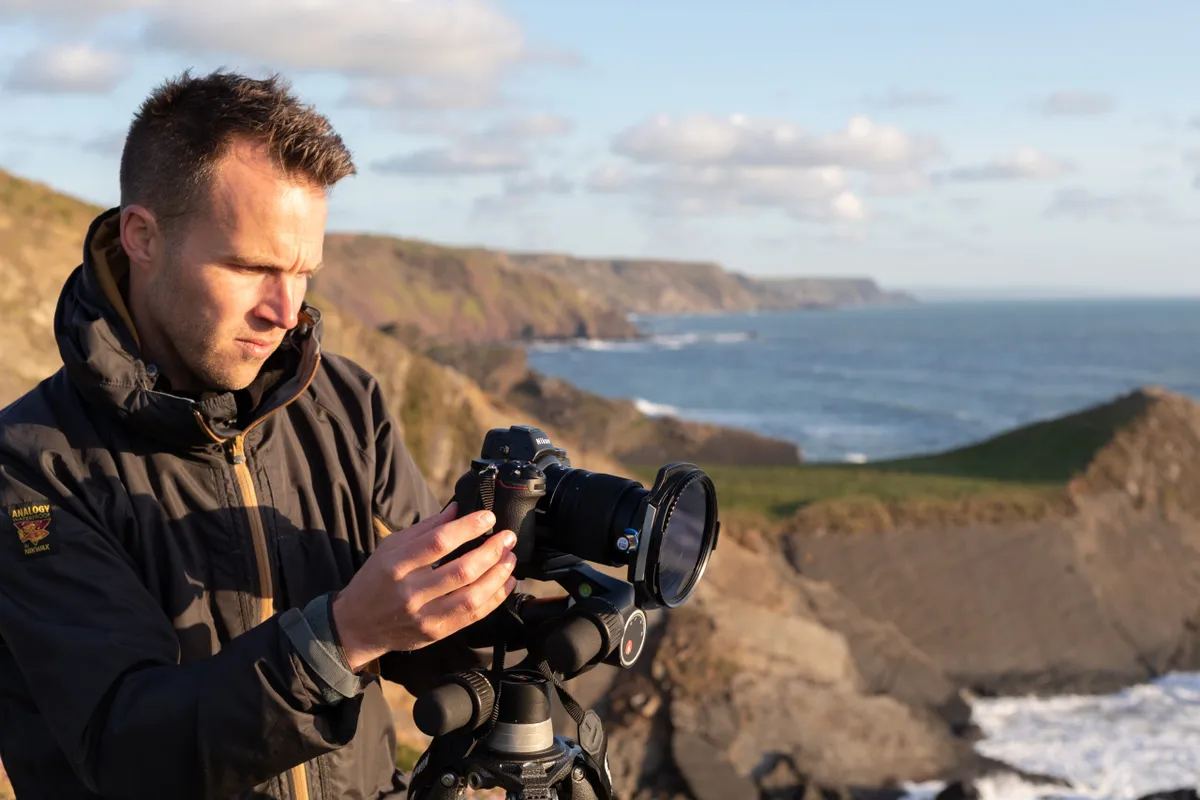
Any camera is suitable for landscape photography – your eye for a shot is more important than the hardware. However, there is no doubting that an interchangeable lens system (a digital SLR or mirrorless camera) will provide more versatility than your smartphone. Not only can you switch lens and adapt easily to different landscape types and situations, but you can add filters and fix your camera to a tripod with ease. While digital SLRs have long been the mainstay for landscape enthusiasts, mirrorless cameras (that employ an electronic viewfinder (EVF) rather than use an optical viewfinder) are the future. Full-frame cameras – that employ a sensor the same size as a 35mm piece of film – are a good option for landscapes providing good dynamic range (the camera’s ability to capture contrast) and better high ISO performance. However, small sensor cameras are still very capable performers. With so many photographers now migrating to mirrorless, there is currently a vast array of used SLR cameras and kit available for a bargain price.
2) What is the best lens for landscape photography?
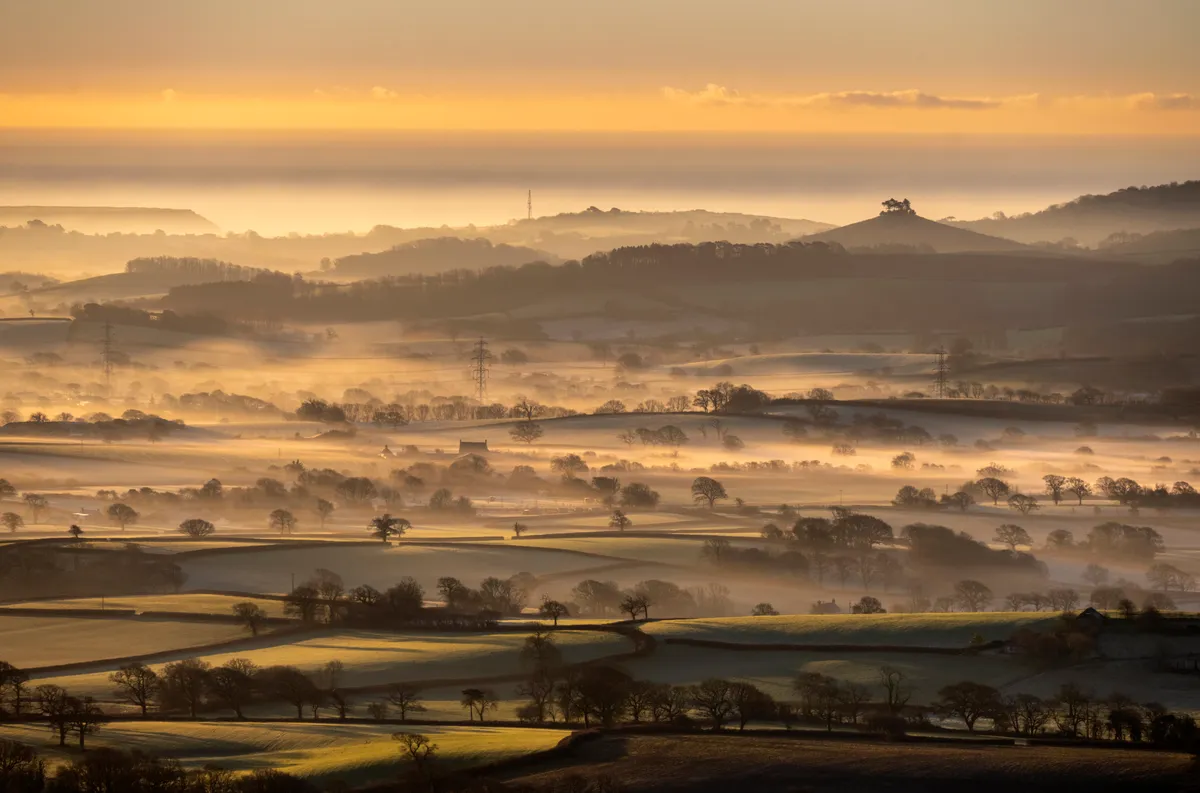
Almost any focal length can be suitable for landscapes, but the most popular choice is wide-angle. Our own eyes are roughly equivalent to 45-50mm. Anything shorter (for example, 28mm) is wide-angle, anything longer is telephoto. Many of the most engaging landscape photos have foreground interest and if you wish to include foreground in your shots you will likely want to use a focal length in the region of 16-35mm. A wide-angle zoom is a great option, allowing you to vary focal length and adjust and refine your composition without physically having to move. However, to ensure you can adapt to different landscapes, you should ideally carry a range of focal lengths from wide-angle up to 200mm – 24-70mm and 70-200mm zooms are both popular choices and will complete your system.
3) Where to focus
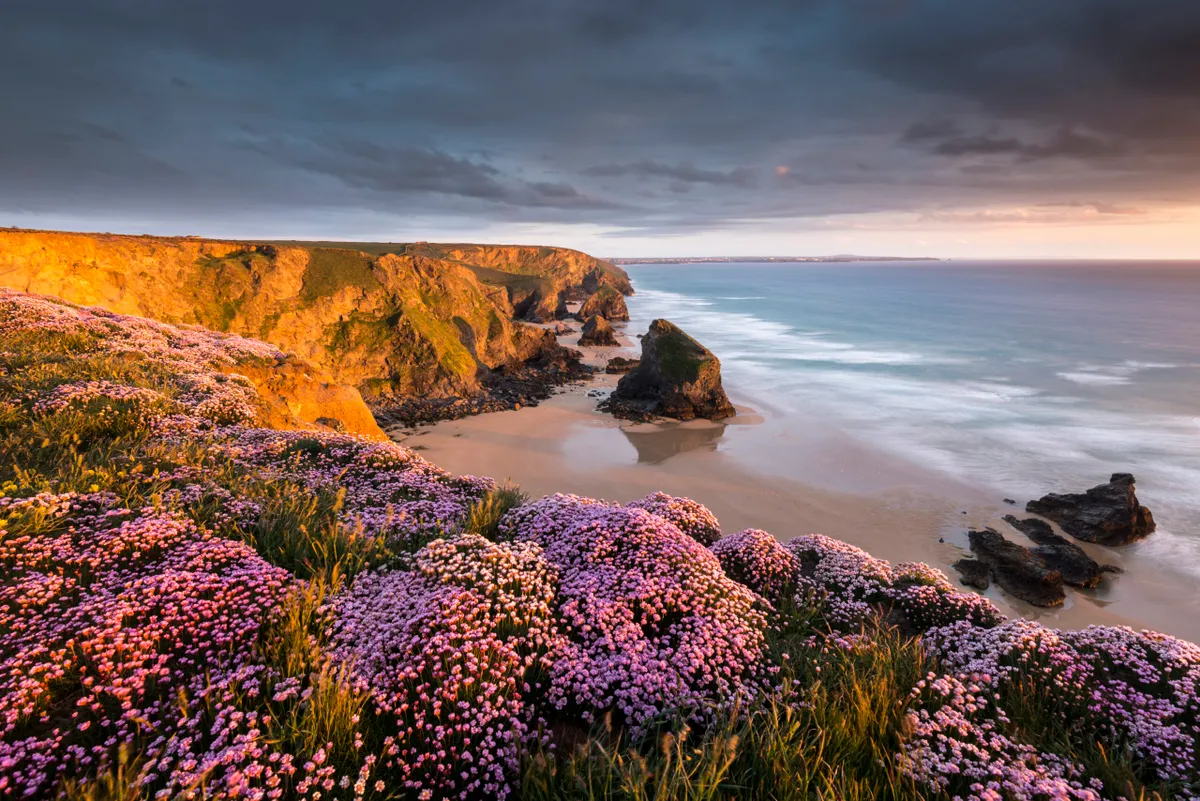
Depth of field – the zone of acceptable sharpness within the scene – grows larger when you select a smaller aperture (represented by a higher f/number, like f/11 or f/16). A smaller f/stop will help you generate front-to-back sharpness, but it is also important to focus on the right place. Depth of field falls roughly one-third in front of the point of focus and two-thirds beyond it. Therefore, if you focus too close or too far away you will waste valuable sharpness. To help you maximise the depth of field available to you, try double-distance focusing. This is a relatively simple technique to apply. First, identify the closest point within the scene that you want to be recorded sharply. Then, estimate the distance it is from you, and double this. For example, if there is a rock in your foreground 2m away, focus at 4m. This will help you to place the ‘wedge’ of sharpness in just the right place to achieve sharp, standout landscapes.
4) Use a tripod!
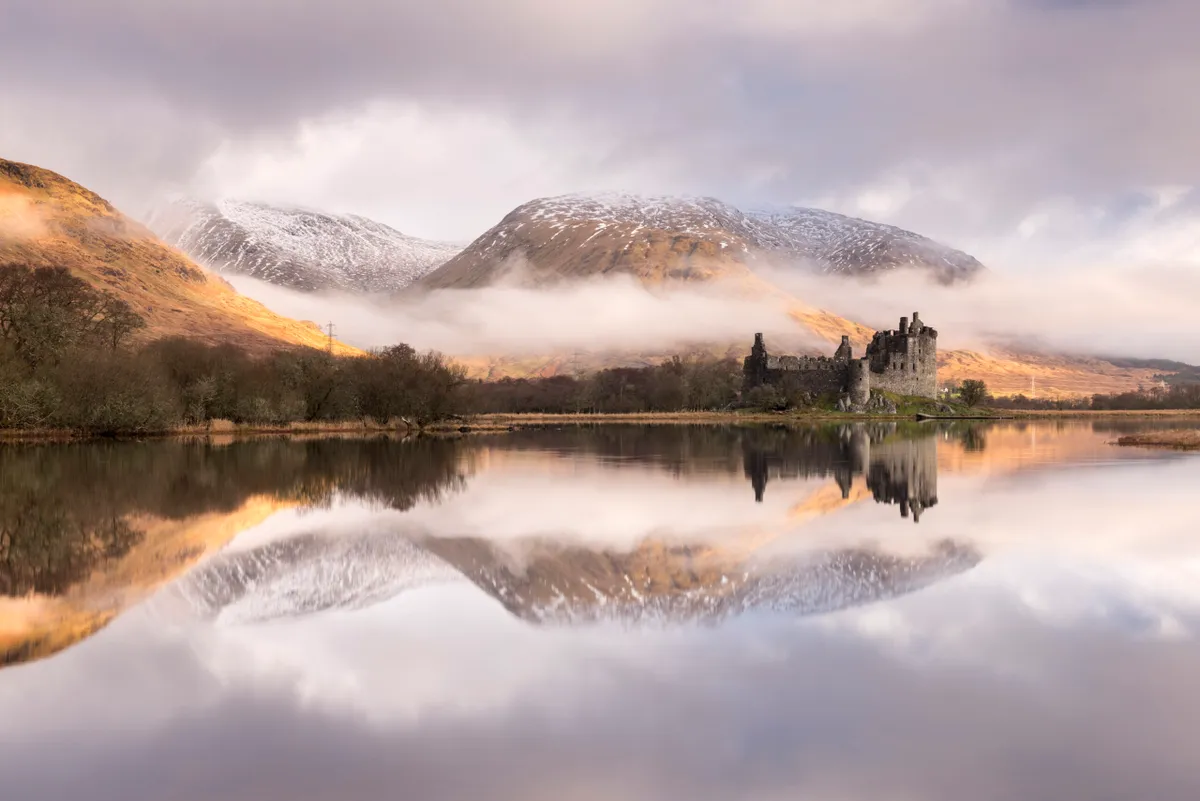
Tripods might be a faff to set-up and a nuisance to lug about, but they really are a great aid for landscape photography. With your camera securely fixed to a support, you can take longer to refine your focus and framing. A tripod slows you down and helps prevent silly mistakes. It is easier to use filters too. Buy the heaviest, most sturdy tripod you feel comfortable carrying. Carbon fibre options are pricier, but a great option – being lighter, yet just as stable.
5) How to use ND filters for landscape photography (Neutral-Density)
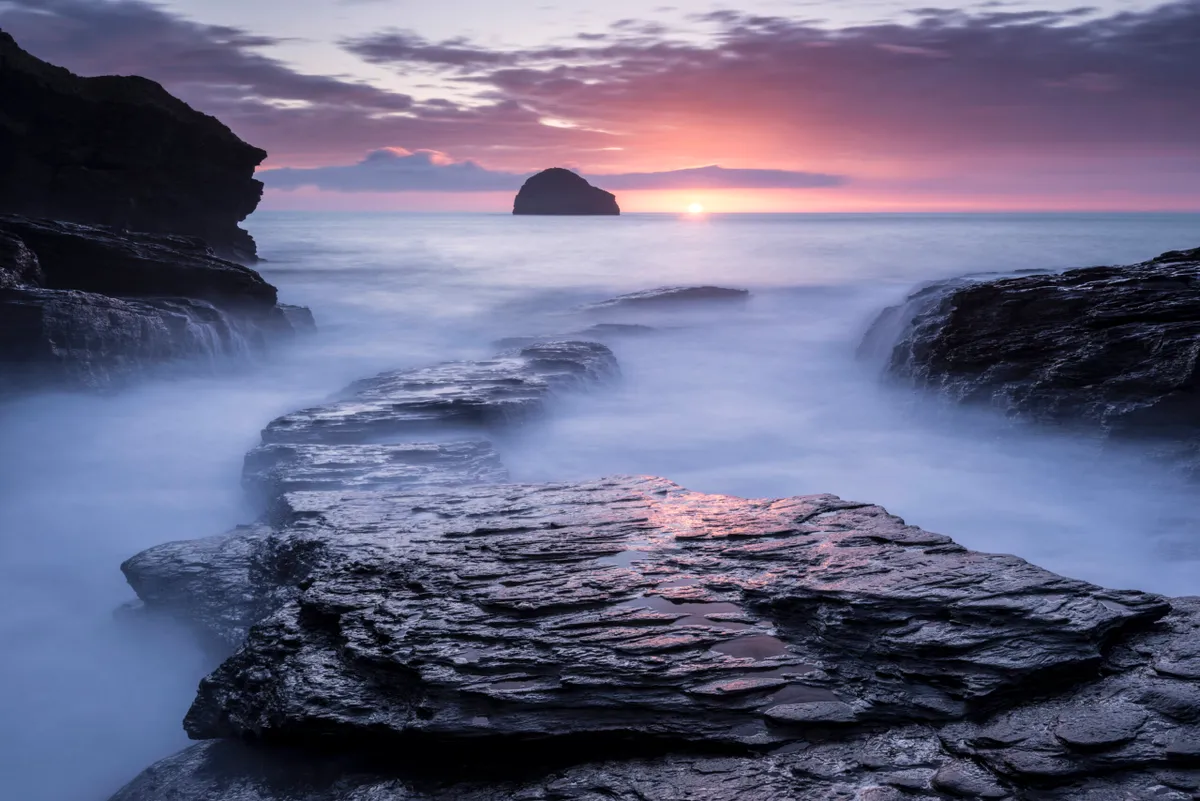
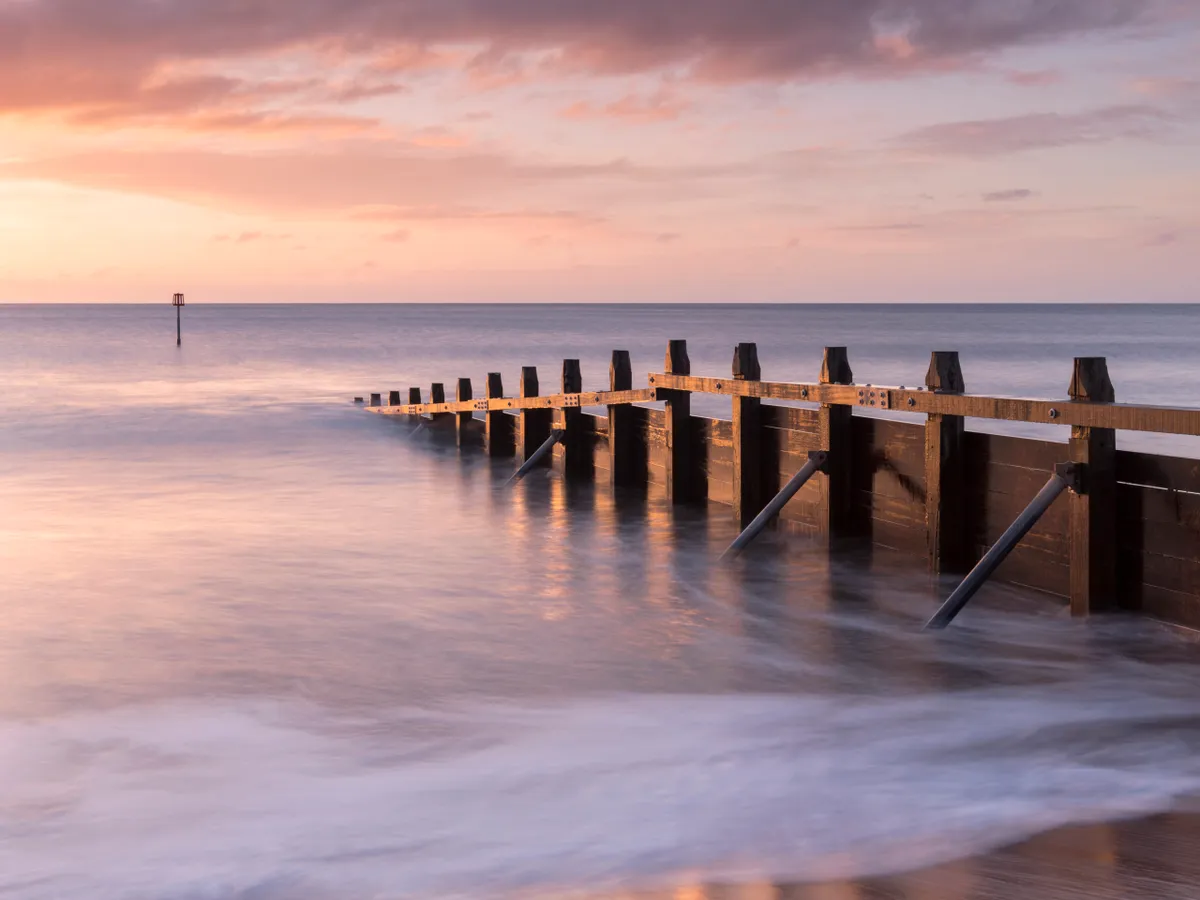
Physical filters continue to play an integral role in landscape photography for both technical and creative purposes. One of the most creative filters is a Neutral Density (ND). These filters are available as both slot-in and screw-on types. They are also available in different densities – the darker the filter, the more light absorbed. Although at first glance, they appear to be drab, grey filters, their neutral coating is designed to absorb light without causing a colour shift. By attaching the filter, you can generate a slower shutter speed to creatively blur subject motion – for example, moving water, cloud, or swaying crops. They are fun to use, and subject blur can create a sense of movement and add interest, flow, and energy to your landscapes. Results can look otherworldly. However, when using ND filters, it is important to fix your camera to a tripod to ensure your results are free of camera shake.
6) Get up early and stay out late!

Light is often the key ingredient to a landscape photo. Typically, the best light and most interesting and colourful skies occur just before, and shortly after, sunrise and sunset – the so-called golden hours. Set your alarm early and arrive on location prior to sunrise when there might be colour and drama in skies. At sunrise and sunset, the sun is lower in the sky producing soft, warm sunlight and attractive contrast. Although the hours are less social – particularly in spring and summer when the hours of daylight are long – you will be rewarded for your efforts. Locations are typically quieter too, and you will often have locations all to yourself – the breathing space is great for our wellbeing.
7) Shoot bad weather!
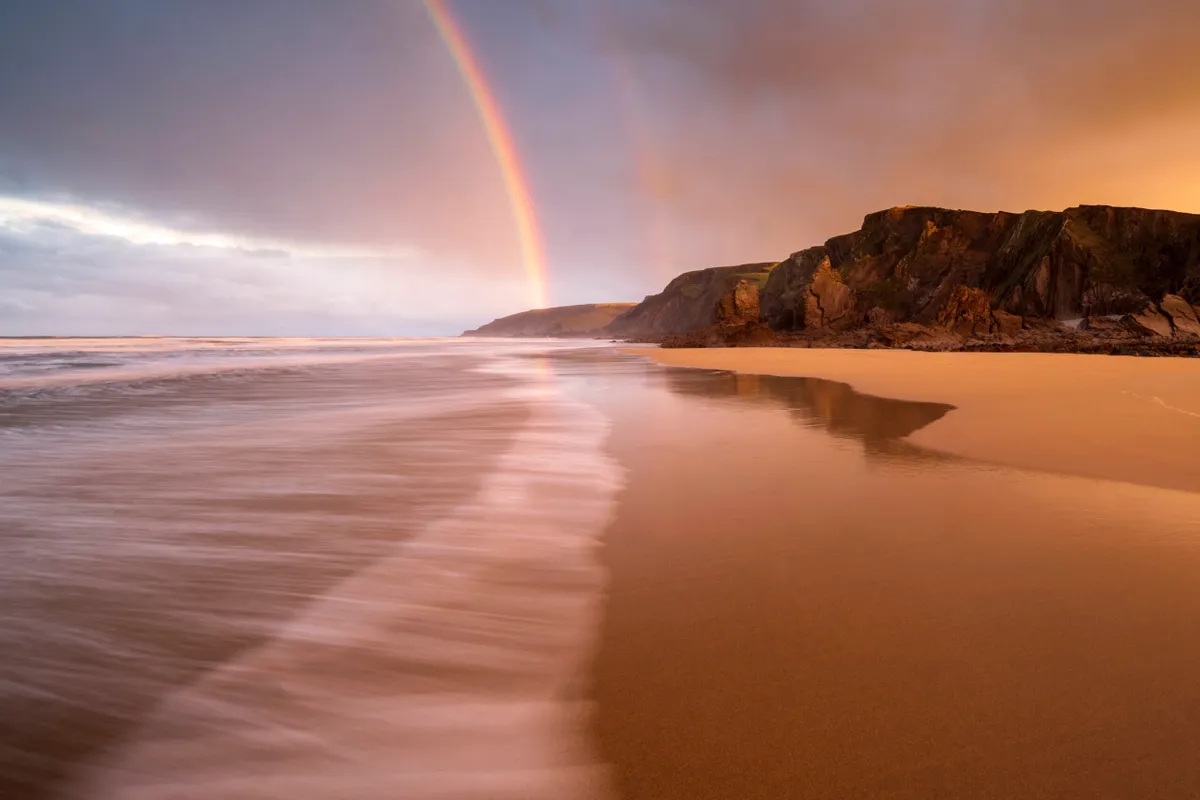
Although it is not fun getting caught out in rain, sleet, or snow, ‘bad weather’ can produce moments of outstanding drama and atmosphere. British weather is renowned for being changeable and this can provide transient conditions and spotlighting. Always dress appropriately – wear layers to keep you warm and good water- and wind-proof clothing to keep you dry. Many cameras are well weather sealed, but it’s worth attaching a lens hood or dedicated rain sleeve to protect your kit – and keep a lens cloth close to hand to wipe away any moisture from the lens or filters. Sunshine and showers can produce an abundance of photogenic rainbows. Rainbows appear opposite to the sun’s position. Try using a wide-angle lens to include all the rainbow in frame but be mindful of your shadow. Rainbows can create an effective frame for trees, landmarks, and big vistas, so compose shots thoughtfully.
8) Black and white landscape photography tips
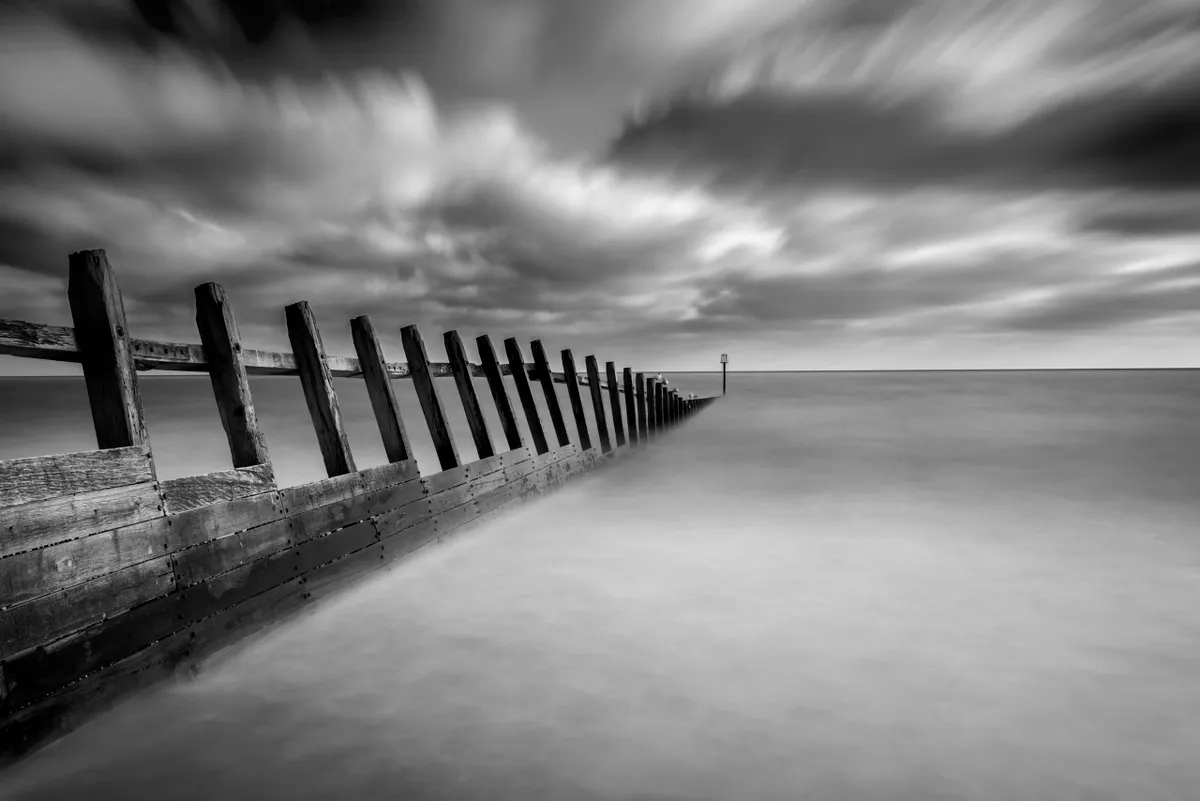
Most cameras have a monochrome picture-style which – once selected – will allow you to see the world in black and white through LiveView and via a mirrorless camera’s electronic viewfinder. However, most landscape photographers favour capturing a colour image in the first instance and later convert it into black and white using photo editing software – this option provides more quality, control, and flexibility. The appeal of black and white is enduring. In combination with the right landscape and light, black and white conveys drama and atmosphere effectively. Scenes with an ‘active’ sky – one containing mood or drama – often suit mono best. Strong contrast, shapes, lines, and texture often translate well into black and white. Keep compositions simple and don’t overlook using your smartphone, which will convert your shots into black and white in an instant.
9) The Rule of thirds
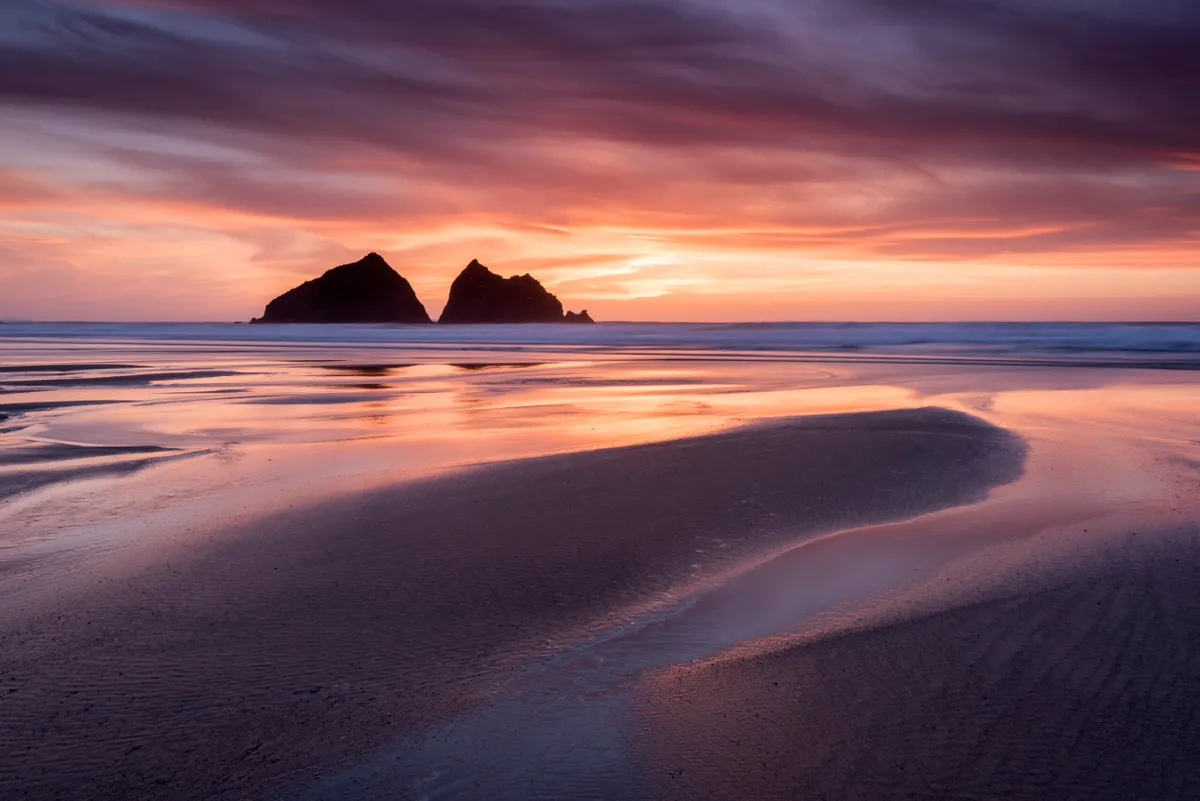
Regardless of the camera you use, the art of composition – arranging the elements within the image-space in the most aesthetically pleasing way – is a key component. You can instantly improve compositions by applying the ‘rule of thirds’. This is the best known and most useful compositional rule. Simply imagine the image-space divided into nine equal parts by two horizontal and two vertical lines. By placing a key point of interest at – or near – where the lines intersect, your composition will be more balanced and engaging. With landscapes it is often best to place the horizon on a third – a centred horizon can produce rather static and dull looking results.
10) Plan and prepare
Some great landscapes are the result of simply being in the right place at the right time. However, planning and preparation will help maximise your chances of capturing great shots. You can do a great degree of remote planning using Apps like The Photographer’s Ephemeris (TPE) or PhotoPills. A sun compass will help you work out where the sun will be rising or setting and its effect on the scene. If you are visiting the coast, check tide times and always keep an eye on the up-to-date weather forecast. Use this information to help you decide where and when to visit and prevent wasted journeys. Also, prepare your kit before you head out – for example, are lenses and filters spotlessly clean and batteries fully charged?
A combination of light, composition, and your creative eye will produce standout landscape photos, but having the right kit will help you capture the opportunity. With MPB, you can build your system by buying, selling, and trading used photo & video kit with ease and confidence.